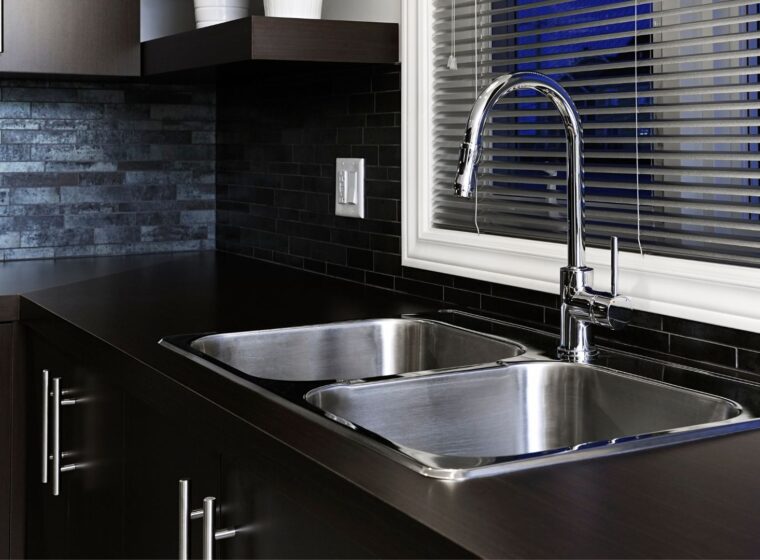
Installing a new sink is an easy project that can give your kitchen a whole new look. Even if you’re not the most handy person in the world, you’ll be surprised at how easy it is to replace and install a kitchen sink.
In this article, We’re going to show you how to do just that. We’ll take you through every step of the process – from choosing the right sink for your kitchen to making sure everything’s installed properly and safely.
You’ll have a brand-new kitchen sink in no time!
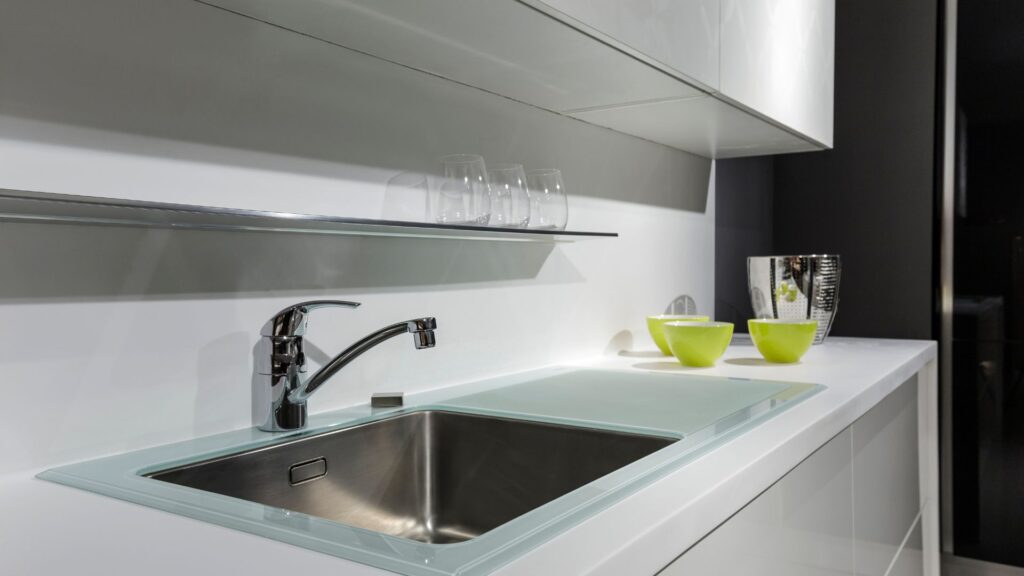
- Brighten up space
- Improve aesthetic appeal
- Improve functionality
- Improve hygiene and convenience
- Prolong durability
Different types of kitchen sinks
- Stainless steel: The most common type of kitchen sink is the stainless steel sink. They’re reliable and affordable, yet provide an attractive and modern look to any kitchen space. Stainless steel is known for its durability and being highly resistant to staining and rusting. It also looks sleek and modern but tends to show water spots so it needs more frequent cleaning than other materials.
- Granite: If you’re looking for something slightly more luxurious, try granite composite sinks. These are constructed with a blend of granite dust and acrylic resin which makes them resistant to scratches and stains. Plus, they come in a variety of colors so you can find one that matches your décor perfectly! However, it can chip or crack if something too heavy is placed on it.
- Ceramic or porcelain: When it comes to aesthetics, nothing beats a ceramic or porcelain sink. These sinks are made from clay-based materials that are fired at extremely high temperatures and glazed for extra protection against wear and tear. The downside is that ceramic or porcelain sinks can be quite expensive compared to other materials.
Design is coming to grips with one’s real lifestyle, one’s real place in the world. Rooms should not be put together for show but to nourish one’s well being
ALBERT HADLEY
Planning kitchen sink replacement
Budget
Before beginning any kitchen sink replacement project, you should determine a budget for the project. This will help you decide which type of sink you can afford and the materials needed to complete the project.
Preparing the countertops
Make sure that the new sink fits in the old space. Make adjustments if this is not the case. If you need more information on how to work kitchen countertops, read our recent blog post. It’s a good idea to replace your kitchen sink as a part of a larger kitchen renovation project.
Preparing the Area
Prepare the area by removing the existing sink, countertop, and any other components that need to be removed. This includes disconnecting the plumbing, garbage disposal and supply lines, cleaning the area, and making sure the space is clear for installation.
Selecting the Sink
You will then need to decide on the type of sink you want to install. This includes the size, material, and style of the sink. If you are replacing an existing sink, you will need to make sure the new sink can fit in the same space.
How to replace and install kitchen sink
Gather tools and materials for sink installation
The exact tools you’ll need will depend on the type of sink you’re installing and the plumbing configuration in your kitchen. Here are some common tools that you’ll most likely need regardless of the specifics.
- Adjustable wrench or pliers
- Screwdriver
- Basin wrench
- Putty knife
- Plumbers putty or silicone caulk
- Tape measure
- Hacksaw
- Bucket or container
- Safety glasses and glove
- Caulk gun
- Sealant tape
- Faucet supply lines
- Compression nuts
Shut off the water
Turning off the water is easy – just locate the shutoff valves under the sink. There should be two: one for hot and one for cold water. Make sure to turn each of them clockwise until they won’t turn any more. To make absolutely sure that no water is flowing, open up both valves and let them run for a few seconds, then close them again. That way, you know all the residual water has been drained away.
Disconnect the water supply lines
The supply lines are what carry water from your home’s main water pipes to your sink faucet. Use pliers to loosen up their nuts. Once loosened, pull them away from the faucet until they come free.
PRO TIP: Take a photo of disconnected pipes to have easier time putting it back together.
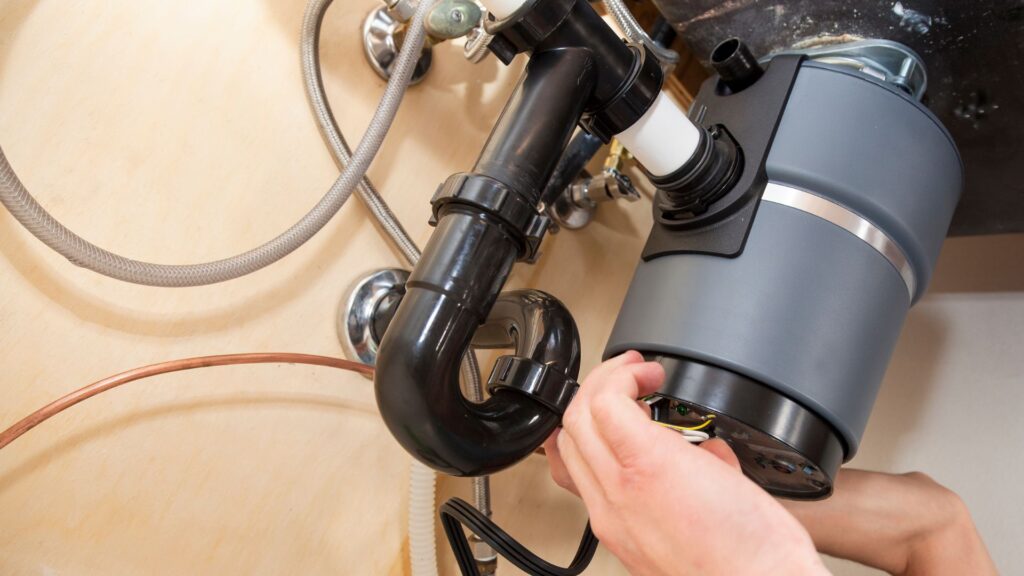
Remove garbage disposal from your kitchen sink
To remove the garbage disposal, you’ll need a wrench or socket set. Begin by unscrewing any bolts that attach it to your sink basin or countertop before gently pulling it out from underneath your sink.
Detach the drain pipes and p-trap pipes
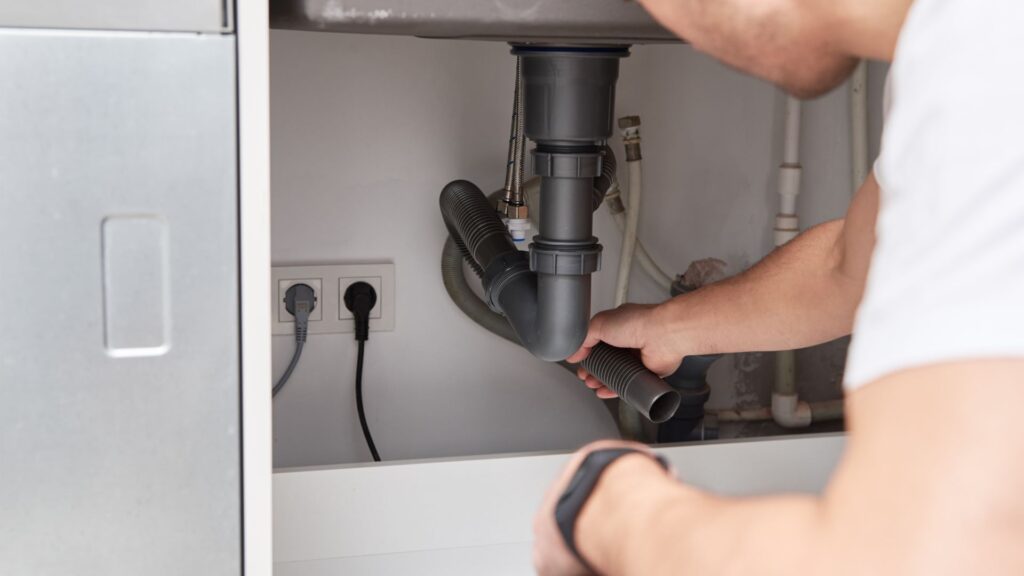
Place a bucket or pan underneath the pipes to catch any water that may be left in them. Then use your slip joint pliers to loosen up the P trap pipe which connects directly to the sink’s tailpiece. After loosening up the P trap, it should be easy to unscrew by hand.
Next, use either an adjustable wrench or a basin wrench depending on what type of nuts are used under your sink; these will usually connect directly into the drainpipe. Once all the nuts are removed, take out both pieces of pipe along with their gaskets and washers before going ahead with installing your new sink!
Fitt and attach your new kitchen sink
It’s time to get the sink fitted and attached. First, make sure your sink is positioned correctly. Place it in the cut out of your countertop and check it for level. If needed, use shims to adjust the height and level of the sink until it is perfect. Once everything looks good, secure the sink with clips or caulking compound around its edges. Seal the sink around the edges to prevent water leakage.
Connect the water supply lines from the valve shutoffs to the underside of your sink. The connections can be made using flexible hoses or copper tubing as desired.
Line up the new drain assembly with the sink’s opening and use either the putty or caulk to seal it around the edges. Make sure it’s nice and tight by using your wrench to tighten everything around it – this will help keep water from leaking out when it’s in use later on.
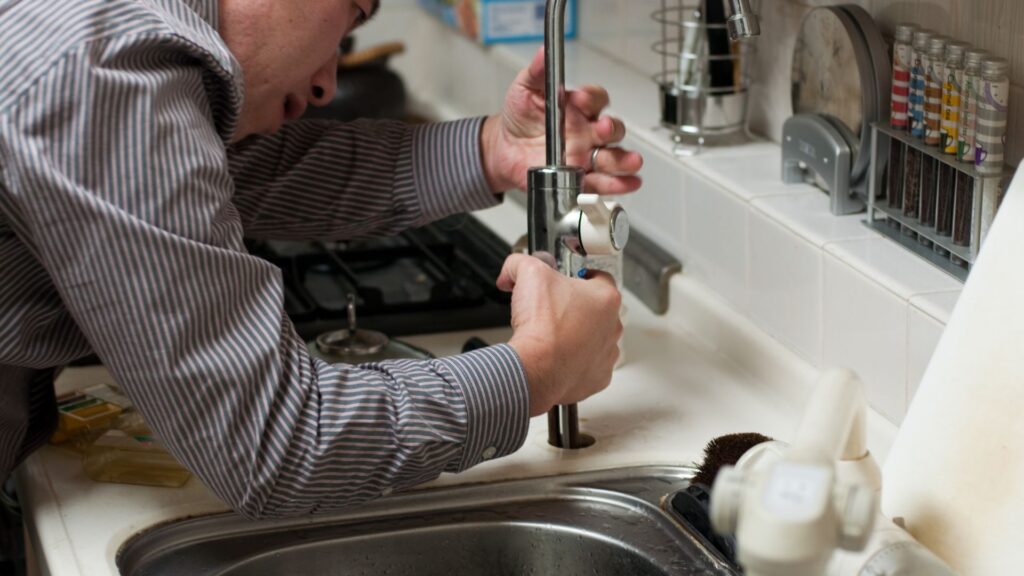
Attach the faucet. Clean up any residue left behind from the previous installation before putting in your new faucet. Attach your new faucet using all of the necessary parts that came with its packaging. Make sure each part is properly secured and double check for any possible leaks before completing this step.
Conclusion
In conclusion, replacing a kitchen sink is a manageable DIY project that can breathe new life into your kitchen. By following the steps outlined in this blog post, you can successfully remove your old sink and install a new one with confidence.
However, it’s important to note that if you encounter any issues during your kitchen renovation or feel uncomfortable with the process, it’s always best to seek professional help. At Fresh Home Renovations, we’re happy to provide professional advice and help.
Contact us today to schedule a consultation and learn more about how we can help you improve the comfort and value of your home.


