How to install bathroom tiles
Are you ready to give your bathroom a fresh and modern look? Installing new tiles can be a great way to accomplish this, and it’s a project that you can easily do yourself with a bit of guidance.
In this article, we will provide you with a comprehensive guide on how to install bathroom tiles, from choosing the right materials to preparing the surface and laying the tiles. We’ll also share tips and tricks to ensure that your project is a success.
So if you’re ready to tackle this DIY project and give your bathroom a new look, keep reading to learn all about how to install bathroom tiles.
- Durability
- Easy to clean
- Water resistant
- Variety
- Hygiene
- Cost effective
- Decorative
- Valuable
Benefits of bathroom tiles
Durability: Tiles are durable and can withstand moisture, water, and heavy foot traffic. They are resistant to scratches, stains, and chipping.
Easy to clean: Tiles are easy to clean and maintain. They do not require any special cleaning products and can be cleaned with a simple mop and mild detergent.
Water-resistant: Tiles are water-resistant, which makes them a perfect choice for bathroom walls and floors. They prevent water from seeping into the walls or floor and causing damage.
Wide range of design options: Tiles come in a wide range of colors, shapes, sizes, textures and patterns. You can choose from a variety of designs to create a unique look for your bathroom.
Hygienic: Tiles are hygienic and do not harbor bacteria or germs. They are also resistant to mold and mildew.
Cost-effective: Tiles are cost-effective and can be installed easily. They are a cost-effective alternative to other flooring and wall materials.
Increases the value of your home: Installing tiles in your bathroom can increase the value of your home. It makes your bathroom look more modern, clean, and stylish.
Decorative: The decorative design of bathroom tiles adds an aesthetically pleasing touch to any bathroom
Tiles provide an easy solution for updating any bathroom with minimal effort and cost while still achieving maximum impact. With so many options available, there is sure to be something that fits the homeowner’s vision and budget—giving them the perfect backdrop for creating their dream bathroom space.
Design is coming to grips with one’s real lifestyle, one’s real place in the world. Rooms should not be put together for show but to nourish one’s well being
ALBERT HADLEY
Different types of bathroom tiles
When it comes to choosing the right bathroom tile, there are a variety of options available.
Ceramic tiles: Ceramic tiles are the most common type of bathroom tiles. They are made from clay and are available in a variety of colors, sizes, and textures.
Porcelain tiles: Porcelain tiles are also a popular choice for bathroom flooring and walls. They are durable, water-resistant, and easy to maintain.
Terracotta: Terracotta is one of the most popular materials due to its natural color variations and durability. It’s also relatively inexpensive and comes in a range of sizes, making it a great choice for any budget.
Slate tiles: Slate tiles are another option that adds a unique touch to bathrooms with their natural beauty and texture.
Natural stone: Natural stone such as limestone, granite, and travertine are also popular choices for bathrooms due to their timeless appeal.
Glass tiles: Glass tiles are becoming increasingly popular in modern bathroom designs. They come in a variety of colors and are perfect for creating a unique look in your bathroom. Glass tiles provide an even more luxurious feel with their glossy finish and modern aesthetic.
Stone tiles: Stone tiles, such as marble, granite, and limestone, can add a touch of luxury to your bathroom. They are durable, but they do require more maintenance than other types of tiles.
Mosaic tiles: Mosaic tiles are small tiles that are arranged in a pattern to create a design. They can be made from glass, stone, or ceramic and are perfect for creating a unique look in your bathroom.
Cement tiles: Cement tiles are becoming more popular in bathroom designs. They are available in a variety of patterns and colors and can add a vintage or retro look to your bathroom.
Metal tiles: Metal tiles, such as stainless steel or copper, can add a modern and industrial look to your bathroom. They are durable, water-resistant, and easy to clean.
Wood-look tiles: Wood-look tiles are porcelain or ceramic tiles that mimic the look of wood. They are a popular choice for creating a rustic or natural look in your bathroom.

How should you choose the correct type of bathroom tiles
When deciding which bathroom tile is best for you, take into account not only the aesthetics but also the practicality of each option. Consider what kind of environment you have, how much care you’re willing to put into it, and if you plan on selling your home eventually — all these factors should help guide you in making your decision.
First and foremost is the amount of water that will be present in the room. A well-sealed tile with a glazed finish is ideal for areas such as bathrooms where moisture levels are higher. In addition to its waterproofing qualities, glazed tile can also add a touch of style to your space.
For those looking for a more subtle approach, ceramic tiles come in a variety of shapes and sizes and can be used both on the floor and walls. Ceramic tiles are also resistant to staining and can easily be cleaned with mild detergents or wipes.
Natural stone tiles are another popular choice because they bring an air of sophistication to any bathroom space. They may require more maintenance than other tiles due to their porous nature, but their unique look makes them worth it in the end.
When should you replace bathroom tiles
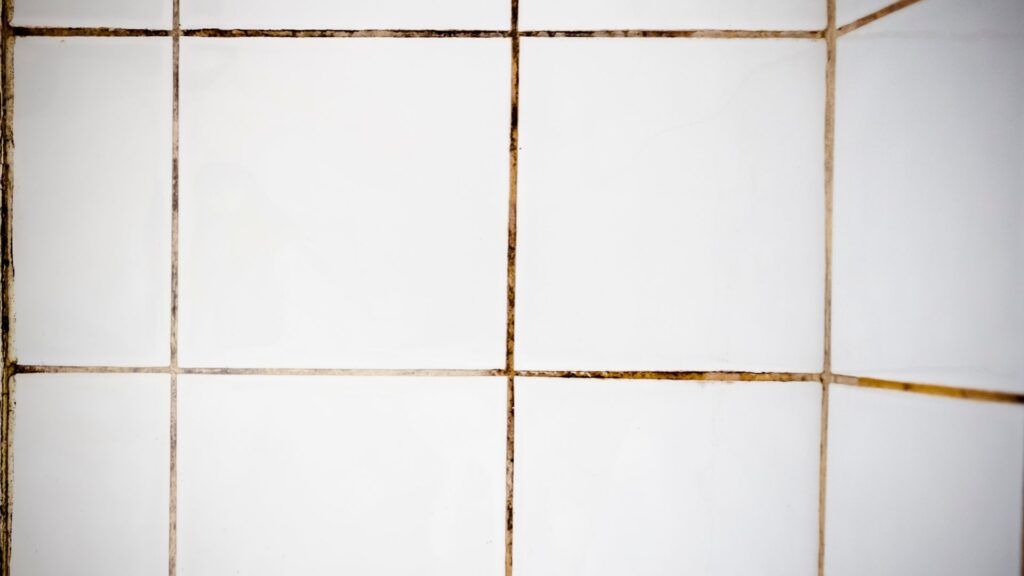
One clear sign that it’s time to replace your bathroom tiles is if there are signs of water damage such as crumbling or dingy grout, lack of shine, small chips or holes, stains, or water invasion.
It’s important not to wait too long once these signs start to appear. Water damage often leads to mold growth which can be harmful for the health of your family and can cause further structural issues in the walls and flooring of the home.
If the tiles are outdated or no longer match your style preferences, replacing them can also be a great way to give your bathroom a fresh, new look. Finally, if you’re planning to sell your home, upgrading your bathroom tiles can significantly increase the value of your property.
Pros and cons of hiring a professional contractor or making it yourslef
Pros of Hiring a Professional Contractor:
- Expertise: Professional contractors have the experience and knowledge needed to handle complex tile installations, ensuring that the job is done correctly and efficiently.
- Time-saving: Hiring a professional can save you time and effort, allowing you to focus on other things while the work is being done.
- Quality: Professional contractors have access to high-quality materials and tools, ensuring that the finished product is of the highest quality.
Cons of Hiring a Professional Contractor:
- Cost: Hiring a professional can be expensive, especially if the project is complex or requires specialized skills.
- Limited Control: When you hire a contractor, you may have limited control over the project, including the selection of materials and the design.
- Scheduling: You may have to work around the contractor’s schedule, which can be inconvenient.
Pros of Doing it Yourself:
- Cost-effective: Doing the project yourself can be more cost-effective, as you can save money on labor costs.
- Control: You have complete control over the project, including the design and materials used.
- Flexibility: You can work on the project on your own schedule, which can be more convenient.
Cons of Doing it Yourself:
- Time-consuming: Tile installations can be time-consuming and require a significant amount of effort, which can be challenging for those with limited time or experience.
- Risk of Mistakes: If you don’t have the necessary skills or experience, you run the risk of making mistakes that could damage the tiles or require costly repairs.
- Quality: The quality of the finished product may not be as high as that produced by a professional.
How to replace and install kitchen sink
Gather tools and materials for tile installation
- 12×2″ stainless steel screws: Used for attaching tile backer board to a subfloor or wall studs. Stainless steel screws are corrosion-resistant and ideal for wet areas like bathrooms.
- 1/4-in. tile backer board: Used as a substrate for tile installation. Backer board is water-resistant and helps prevent tile from cracking or shifting over time.
- 1×4 guide boards: Used to create a straight and level line for tile installation. Guide boards are attached to the wall or subfloor and act as a guide for laying tiles.
- 2-1/2- galvanized screws: Used for attaching guide boards to the wall or subfloor. Galvanized screws are rust-resistant and ideal for wet areas like bathrooms.
- 4-in. diamond blade: Used with an angle grinder to cut tiles.
- Angle grinder: Used to cut tiles and remove grout.
- Acrylic additive: Added to thin-set mortar to improve adhesion and flexibility.
- Alkali-resistant mesh tape: Used to reinforce seams and corners in backer board installation.
- Backer board screws: Used to attach backer board to the subfloor or wall studs.
- Backer rod: Used to fill gaps between the tile and other surfaces, like a bathtub or shower pan.
- Bucket: Used to mix grout and mortar.
- Construction adhesive: Used to attach backer board to the subfloor or wall studs. Construction adhesive is stronger than regular adhesive and helps prevent tile from shifting over time.
- Caulk gun: Used to apply caulk around the edges of the tile installation.
- Chalk line: Used to mark straight lines on the surface where tiles will be installed.
- Cordless drill: Used to install backer board and screws.
- Drywall saw: Used to cut holes in backer board.
- Dust mask: Used to protect the lungs from dust and debris during tile installation.
- Duct tape: Used to hold backer board seams together while the thin-set mortar sets.
- Grout float: Used to apply grout between tiles.
- Knee pads: Used to protect the knees during tile installation.
- Margin trowel: Used to spread thinset mortar in tight spaces.
- Mixing paddle: Used to mix grout and mortar.
- Notched trowel: Used to spread mortar on the surface where tiles will be installed.
- Nippers: Used to cut small pieces of tile or to trim tiles.
- Offset saw: Used to cut tiles in hard to reach areas.
- Putty knife: Used to apply and remove grout and caulk.
- Pencil: Used to mark the areas on the surface where tiles will be installed.
- Safety glasses: Used to protect the eyes from debris during tile installation.
- Scoring knife: Used to score tiles before cutting.
- Sanded caulk: Used to fill gaps between tiles or between tiles and other surfaces. Sanded caulk is more durable than regular caulk and matches the color of sanded grout.
- Sanded grout: Used to fill gaps between tiles. Sanded grout is more durable than unsanded grout and is ideal for wider grout lines.
- Silicone caulk: Used to seal gaps between the tile and other surfaces, like a bathtub or shower pan. Silicone caulk is water-resistant and flexible.
- Spirit level: Used to ensure that tiles are installed level and even.
- Sponge: Used to clean excess grout off of tiles after installation.
- Tile spacers: Used to ensure that tiles are installed with even spacing.
- Tile cutter: Used to cut tiles to the desired size and shape.
- T-square: Used to mark straight lines on tiles before cutting.
- Thin-set mortar: Used to attach tiles to the substrate. Thin-set mortar is water-resistant and helps prevent tiles from shifting over time.
- Toilet extension ring: Used to raise the height of the toilet flange to accommodate new flooring or thicker tile.
- Transition threshold: Used to transition between different types of flooring, like tile and hardwood.
- Tape measure: Used to measure the length and width of the surface where tiles will be installed.
- Tile nipper: Used to cut and shape tiles that are difficult to cut with a tile cutter.
- Utility knife: Used to cut tiles and other materials.
- Wet saw: Used to cut tiles and other materials with water to reduce dust and debris.
- Wet saw: Used to cut tiles and other materials with water to reduce dust and debris.
- Wax ring: Used to seal the toilet flange to the toilet bowl. Wax rings are water-resistant and help prevent leaks.
Should you use adhesive or mortar?
Adhesive, also known as mastic or glue, is a pre-mixed, ready-to-use product that is easy to apply and dries quickly. It is typically used for small ceramic or mosaic tiles and is suitable for use on walls and floors. Adhesive is not recommended for use in areas that will be exposed to moisture, such as in showers or around bathtubs.
Mortar, also known as thinset or tile adhesive, is a cement-based product that is mixed with water to create a paste-like consistency. It is typically used for larger tiles, such as porcelain or natural stone tiles, and is suitable for use on walls and floors. Mortar is also recommended for use in areas that will be exposed to moisture, as it provides a stronger bond than adhesive.
In general, mortar is a more durable and long-lasting option for tile installation, but it is also more difficult to work with than adhesive. Consider the type and size of the tiles, the surface they will be installed on, and the location of the installation to determine which product is best for your project.
Here are some pros and cons of each
Adhesive pros:
- Ready-to-use, no mixing required
- Easy to apply, especially for small tiles
- Dries quickly, allowing for faster installation
- Can be used on both walls and floors
Adhesive cons:
- Not as strong as mortar, which can lead to tiles becoming loose over time
- Not suitable for areas with high moisture, as it can break down over time
- Can be difficult to remove if tiles need to be replaced
Mortar pros:
- Stronger bond than adhesive, providing a more durable installation
- Suitable for use in areas with high moisture, such as showers and bathtubs
- Can be used on a wider variety of tile types and sizes
- Can be used on both walls and floors
Mortar cons:
- Requires mixing, which can be time-consuming and messy
- Takes longer to dry than adhesive, which can slow down the installation process
- Can be more difficult to apply, especially for inexperienced installers
- Can be more expensive than adhesive
Make a plan
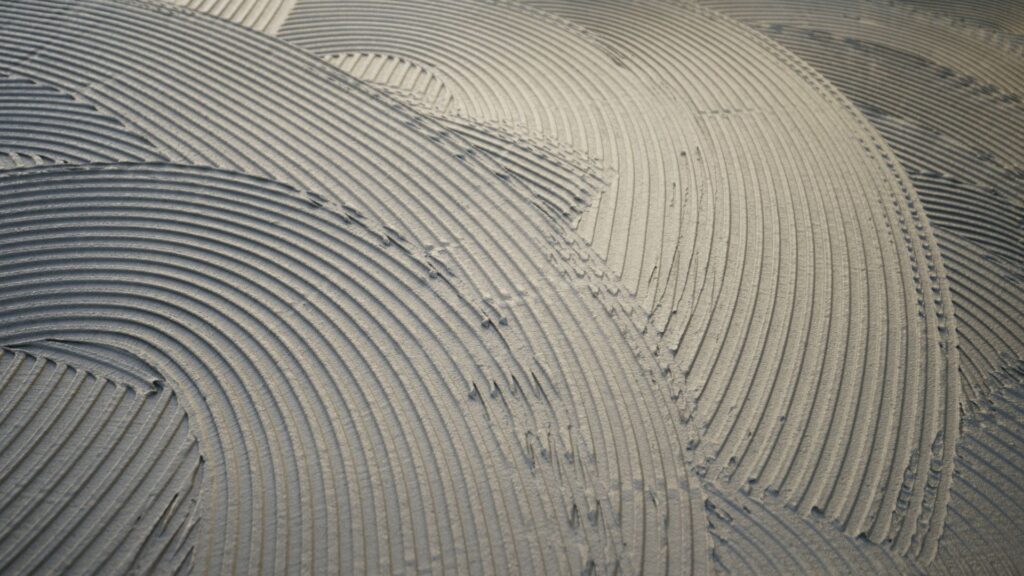
A key factor in your tile installation plan is determining what type of tile best suits your needs. Consider factors such as durability, water resistance, and visual appeal when selecting tiles for your bathroom.
Once you have a good idea of what type of tile you want, start planning out the pattern and where each piece should go. Be sure to measure the area accurately so that you can buy sufficient materials for your project.
PRO TIP: Allocate enough time for this task and make sure there are no distractions while working with tiles and grout. If necessary, enlist help from family members or friends who can assist with cutting pieces and holding up larger tiles while they are being applied onto surfaces.
Prepare the surface
Remove previous covering: Remove any existing tiles, flooring, or wall coverings: This will expose the underlying surface and give you a clean slate to work with.
Check the subfloor or wall studs: Make sure they are sturdy and free of any rot or damage. If you find any issues, repair or replace them before proceeding.
Clean the surface: Use a vacuum cleaner or broom to remove any debris or dust from the surface. Then, use a clean, damp cloth to wipe down the surface and remove any remaining dirt or grime.
Repair any damage: Fill in any holes or cracks in the subfloor or wall surface using a suitable patching compound. Allow the compound to dry completely before proceeding.
Apply a primer or sealer: If you’re working with a porous surface like concrete or wood, apply a primer or sealer to create a more even surface for the tile adhesive to bond to. Follow the manufacturer’s instructions for application and drying times.
Install a tile backer board (optional): If you’re working on a wall or floor surface that is not suitable for direct tile installation, such as drywall, install a tile backer board. Follow the manufacturer’s instructions for installation and use appropriate screws and adhesives.
Measure and plan the layout
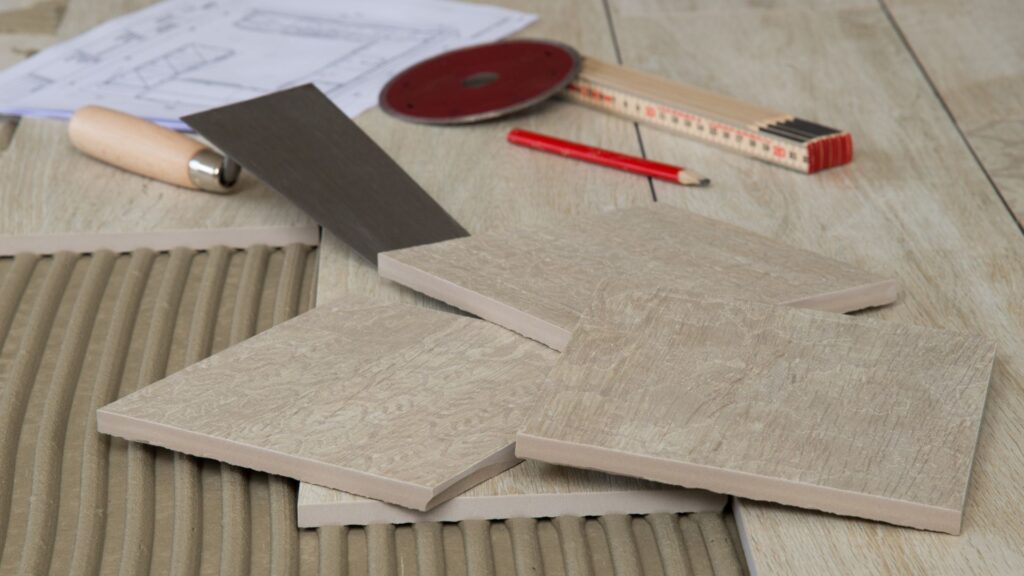
Use a tape measure to work out how much tile you’ll need for the job. Measure both the length and width of the area you’re tiling and add an extra 10 percent to cover any cutting or wastage. You may also want to consider any patterns or designs you’d like to create with the tiles – working out how many and what type of cuts you’ll need before getting started can save time later on.
Once you have enough tile, it’s time to start marking up where each piece should go – use a spirit level to draw a guideline across the walls so that your rows of tiles are all at equal heights. Make sure that you mark each tile accurately so that when it comes time for cutting them, they all fit together perfectly!
Score the tiles
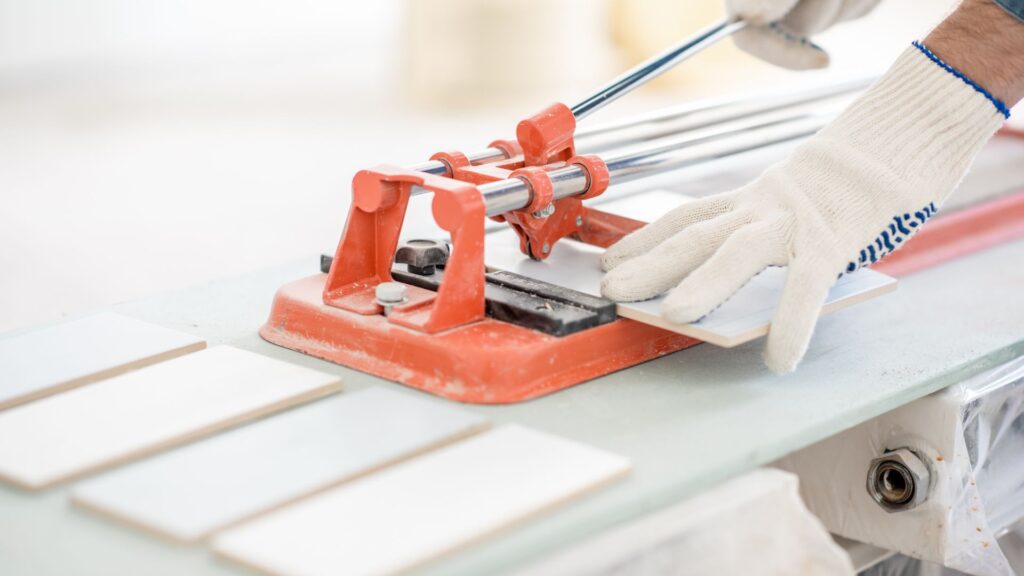
First, measure and mark the tile where you need to make the cut using a pencil and a straight edge or a square.
Use a scoring tool (also known as a tile cutter or a glass cutter) to score the tile along the marked line. Hold the tool perpendicular to the tile and apply firm, even pressure as you run the tool along the line. Make sure to score the tile only once.
If you’re using a manual tile cutter, place the scored tile on the cutter and align the score line with the cutter’s wheel. Apply pressure to the tile’s edges to snap it along the scored line.
If you’re using a wet saw, place the scored tile on the saw bed and align the score line with the blade. Turn on the saw and slowly feed the tile into the blade, following the scored line.
After scoring and cutting the tile, use a tile file or sandpaper to smooth any rough or sharp edges.
Remember to always wear safety glasses and gloves when handling tiles and cutting tools.
Apply adhesive or mortar
Both adhesive and mortar can be used for tiles, but the specific product used will depend on the type of tiles and the surface they are being installed on.
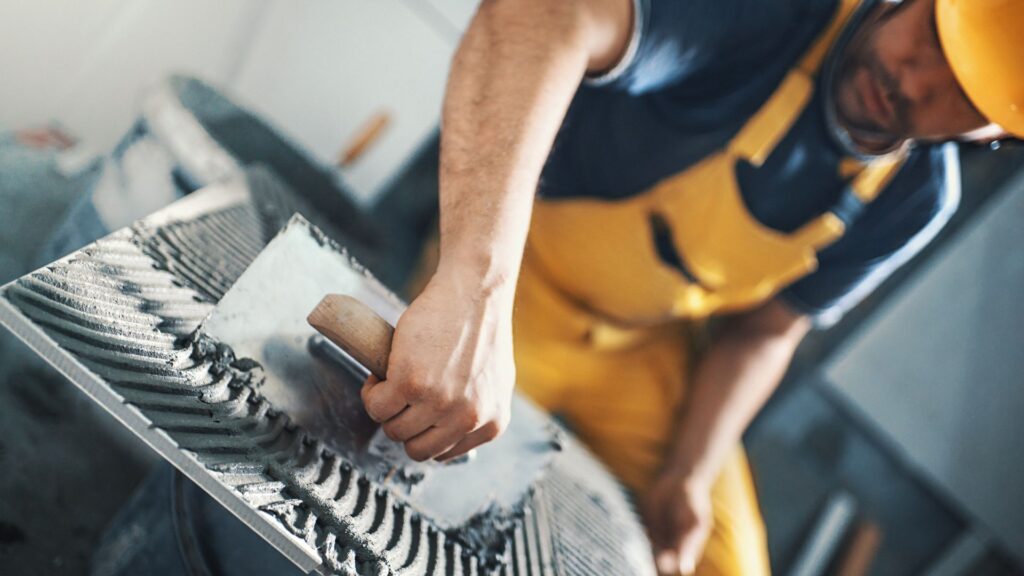
Apply the adhesive to the surface in a small area using a notched trowel. Be sure to only apply as much adhesive as can be covered by the tiles in a few minutes.
Use the flat side of the trowel to spread the adhesive evenly across the surface.
Using the notched side of the trowel, create grooves in the adhesive to allow for proper tile placement.
Lay the tiles
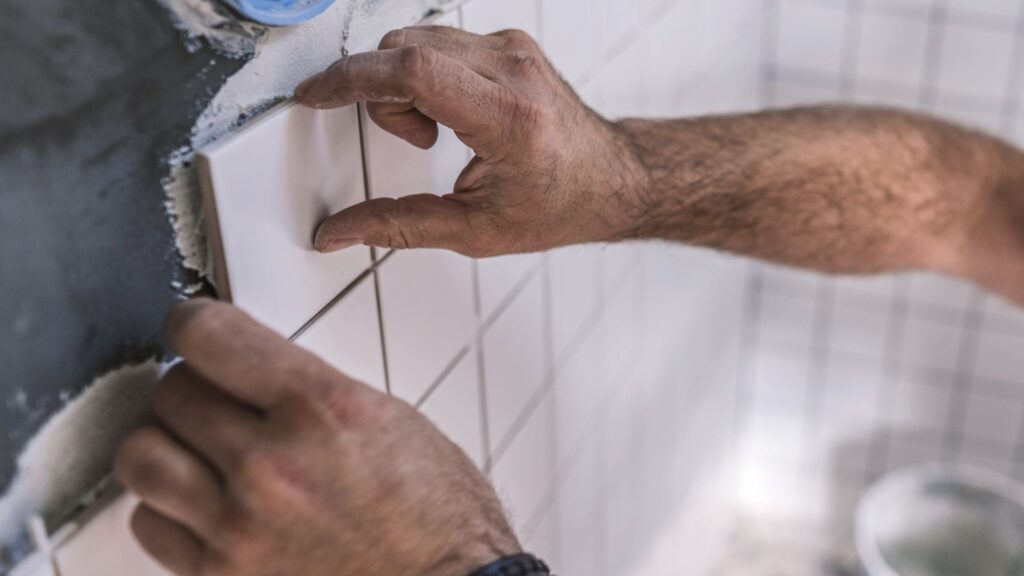
Carefully lay the tiles onto the adhesive, pressing firmly and wiggling them slightly to ensure a good bond with the adhesive. Use tile spacers to ensure even spacing between the tiles.
Continue laying the tiles in small sections, working outwards from the center or focal point, until the entire surface has been covered with tiles.
As you work, periodically check the tiles with a level to ensure they are even and flat. Allow them to dry based on manufacturer’s instructions. Remove the tile spacers after the adhesive dries.
Apply grout
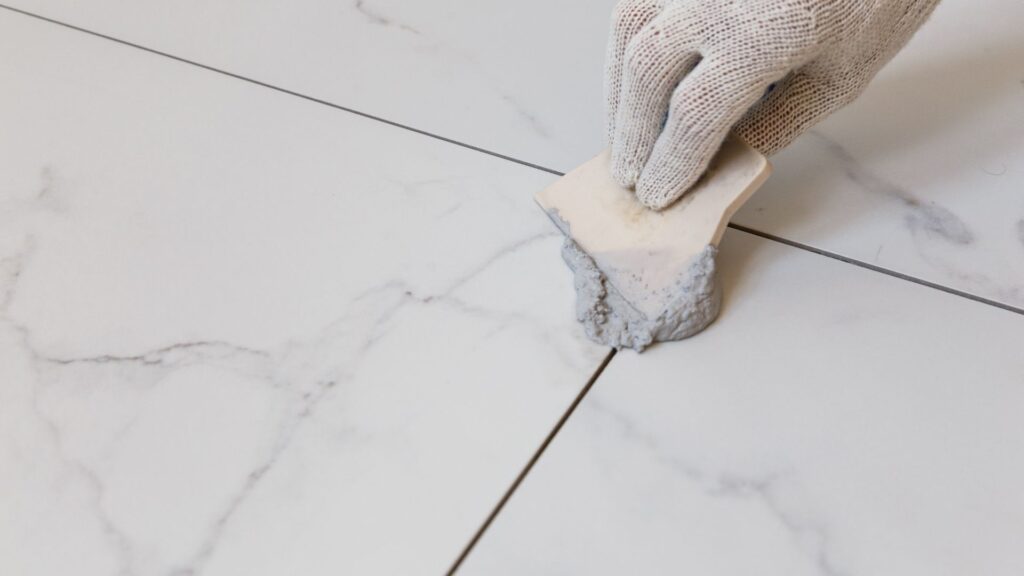
Mix the grout according to the manufacturer’s instructions, using a mixing paddle and bucket. Make sure the grout is thoroughly mixed and free of lumps.
Using a grout float, apply the grout to the tile surface, working in small sections.
Hold the float at a 45-degree angle and use it to spread the grout over the tiles, pressing it into the spaces between the tiles.
Make sure to fill all of the spaces between the tiles with grout, but avoid getting grout on the tile surface.
Once a small section has been covered in grout, use the edge of the float to scrape away any excess grout from the tile surface, working diagonally across the tiles to avoid removing grout from the spaces.
Continue applying grout in small sections and scraping away the excess until the entire surface is covered in grout.
Allow the grout to dry for the amount of time specified by the manufacturer’s instructions, usually around 10-15 minutes.
After the grout has begun to dry but before it has completely set, use a damp sponge to gently wipe away any remaining haze or residue from the tile surface, being careful not to remove any grout from the spaces.
Continue wiping the surface with a clean damp sponge, rinsing the sponge frequently and changing the water as necessary, until the surface is clean and the grout is smooth and level with the tile surface.
Seal the tiles
Make sure that the grout is dry. Choose a suitable tile sealer for your specific tile material and follow the manufacturer’s instructions for application.
Thoroughly clean the tile surface, removing any dirt, dust, or debris using a damp sponge or cloth. Allow the surface to dry completely before applying the sealer.
Test the sealer on a small, inconspicuous area of the tile surface first to ensure that it doesn’t cause any discoloration or damage.
Apply the sealer to the tiles using a paintbrush or spray bottle, working in small sections to avoid missing any spots. Use a light, even coat and avoid applying too much sealer as it can cause the tiles to become slippery.
Allow the sealer to penetrate the tiles for the amount of time recommended by the manufacturer’s instructions. After the recommended time has passed, wipe away any excess sealer from the tile surface using a clean, dry cloth or sponge.
Let the sealer to dry completely, usually for at least 24 hours, before using the tiled surface or exposing it to moisture.
Repeat the sealing process if recommended by the manufacturer’s instructions or if the surface of the tiles still appears porous or susceptible to staining.
How to maintain bathroom tiles
Mix the grout according to the manufacturer’s instructions, using a mixing paddle and bucket. Make sure the grout is thoroughly mixed and free of lumps.
Using a grout float, apply the grout to the tile surface, working in small sections.
Hold the float at a 45-degree angle and use it to spread the grout over the tiles, pressing it into the spaces between the tiles.
Make sure to fill all of the spaces between the tiles with grout, but avoid getting grout on the tile surface.
Once a small section has been covered in grout, use the edge of the float to scrape away any excess grout from the tile surface, working diagonally across the tiles to avoid removing grout from the spaces.
Continue applying grout in small sections and scraping away the excess until the entire surface is covered in grout.
Allow the grout to dry for the amount of time specified by the manufacturer’s instructions, usually around 10-15 minutes.
After the grout has begun to dry but before it has completely set, use a damp sponge to gently wipe away any remaining haze or residue from the tile surface, being careful not to remove any grout from the spaces.
Continue wiping the surface with a clean damp sponge, rinsing the sponge frequently and changing the water as necessary, until the surface is clean and the grout is smooth and level with the tile surface.
Conclusion
Congratulations, you have successfully learned how to install bathroom tiles! With these step-by-step instructions and helpful tips, you can now tackle your next home renovation project with confidence. Don’t be afraid to take on new challenges and improve your home – with a little patience and the right tools, anything is possible.
If you need our help with your project, contact us today to schedule a consultation and learn more about how we can help you improve the comfort and value of your home.


