How to install light fixtures
Are you tired of the outdated light fixtures in your home? Upgrading your lighting is a simple yet effective way to revamp any room and enhance its overall ambiance.
In this article, we’ll guide you through every step of the process, from selecting the perfect fixtures to safely wiring and mounting them in your desired location. You’ll be surprised at how easy it is to achieve a stylish and functional lighting update for your home.
So, let’s get started and brighten up your space with new light fixtures!
- Aesthetics
- Efficiency
- Home value
- Personalization
- Functionality
What are the benefits of installing new light fixtures
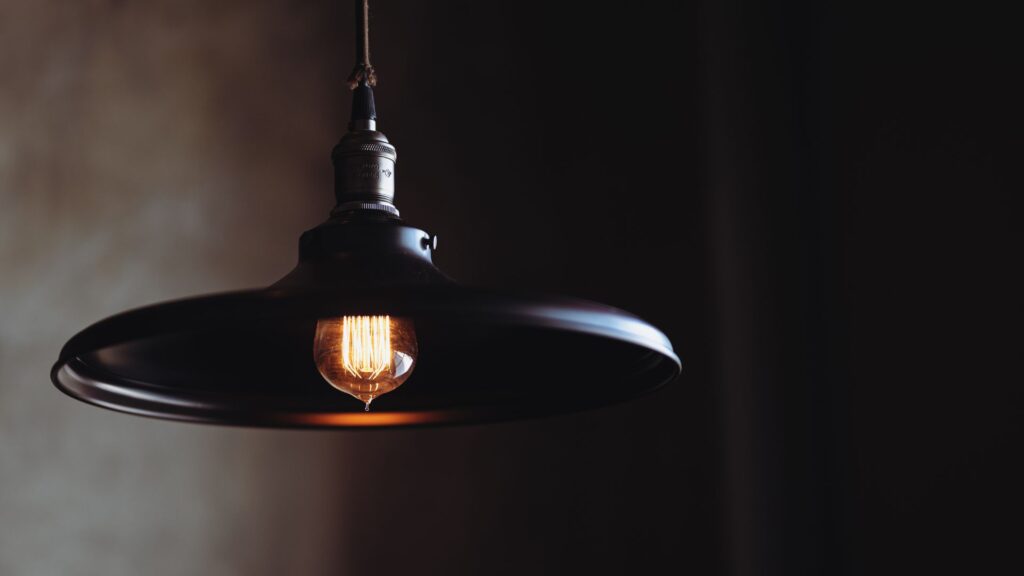
Improved aesthetics: New light fixtures can add a fresh and updated look to your space, enhancing its overall aesthetics.
Better lighting: Upgraded fixtures can provide more light or better quality light, which can improve visibility and make it easier to perform tasks.
Energy efficiency: Newer fixtures are often designed to be more energy-efficient, reducing your energy consumption and potentially lowering your electricity bill.
Increased home value: Updating your light fixtures can be an easy and cost-effective way to increase your home’s value and appeal to potential buyers.
Personalization: Installing new light fixtures can allow you to personalize your space and create a specific atmosphere or mood through different lighting styles.
Living through a home renovations is like living in the wild. You do whatever it takes to survive.
Unknown
Should I hire an electrician to install the light fixtures?
It is generally recommended that an electrician be hired to install light fixtures, particularly if you are not experienced with electrical work or if the installation involves any complex wiring. Hiring an electrician to install light fixtures provides several benefits, including safety, proper installation, time-saving, cost-effectiveness, and expert advice on the best type of fixture and placement.
However, if you have experience with electrical work and feel comfortable with the installation process, you may be able to install the light fixture yourself.
Before beginning, it is essential to make sure all electrical systems are up-to-date and that all safety protocols are in place. The wiring should be checked for any damage or deterioration, and all circuit breakers should be tested for proper operation.
Be aware of the potential dangers associated with working with electricity. Wear protective gear such as gloves and eye protection.

How to install light fixtures
What tools and materials do you need to install light fixtures
Installing light fixtures requires a variety of tools and materials. It is important to have the correct tools and materials before beginning an installation project, as this will help ensure that the job is done properly and safely.
A basic toolkit for light fixture installation should include:
- A ladder
- Sheet rock saw
- Lineman pliers
- Assorted screwdrivers
- Wire nut assortment
- NM type cable (a.k.a. Romex’)
- Snake or fish tape
- Switch box(es)
- Switch(es)
- Fixture
- Fasteners
- Spackle or other patching Compound
- Putty knife/scraper
- Drill and bits
- Voltage detector
- Wire strippers
- Screwdriver
- Work light
- Wire nuts
Turn of the power
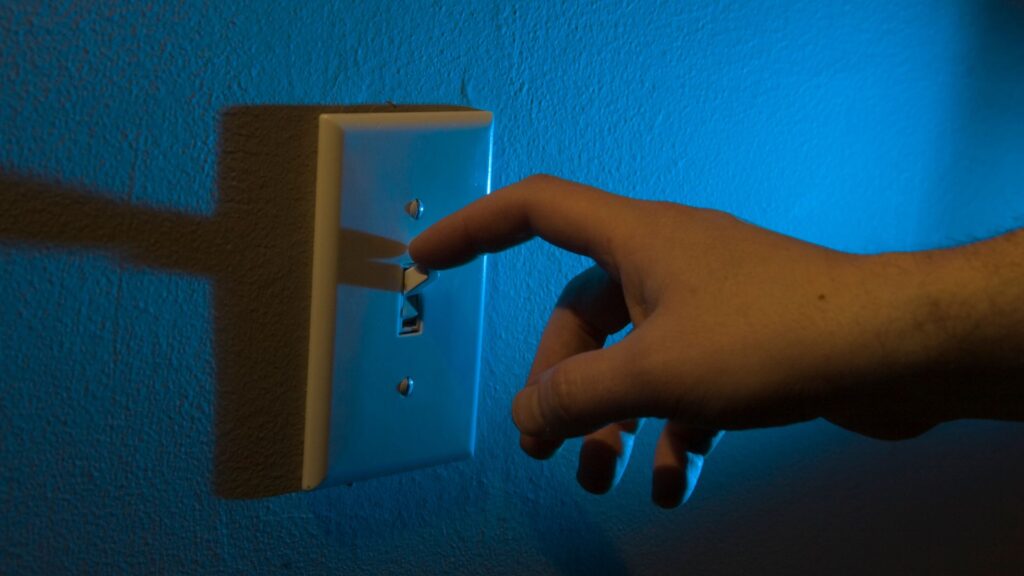
When installing light fixtures, it is essential to take the appropriate safety measures. Turn off the power at the breaker. This will ensure that no electricity flows through the fixture and potentially causes harm.
After turning off the power, you should also test the switch for any residual electricity by using a multimeter or other testing device. Doing so will provide an additional layer of safety and peace of mind when handling electrical components.
Remove the old fixture
Unscrew any screws or nuts that are holding the fixture in place. Carefully disconnect any wires that are attached to the fixture. Be sure to note which wires are connected where.
Examine the wiring
Make sure that the wiring is in good condition. If the wiring is damaged or frayed, it will need to be replaced or repaired before you can install the new fixture.
If you need to remove the wiring, unscrew any cover plates or switch boxes that may be attached to the old wiring. Carefully detach each wire from its terminal and use a voltage tester to make sure there is no electricity running through them.
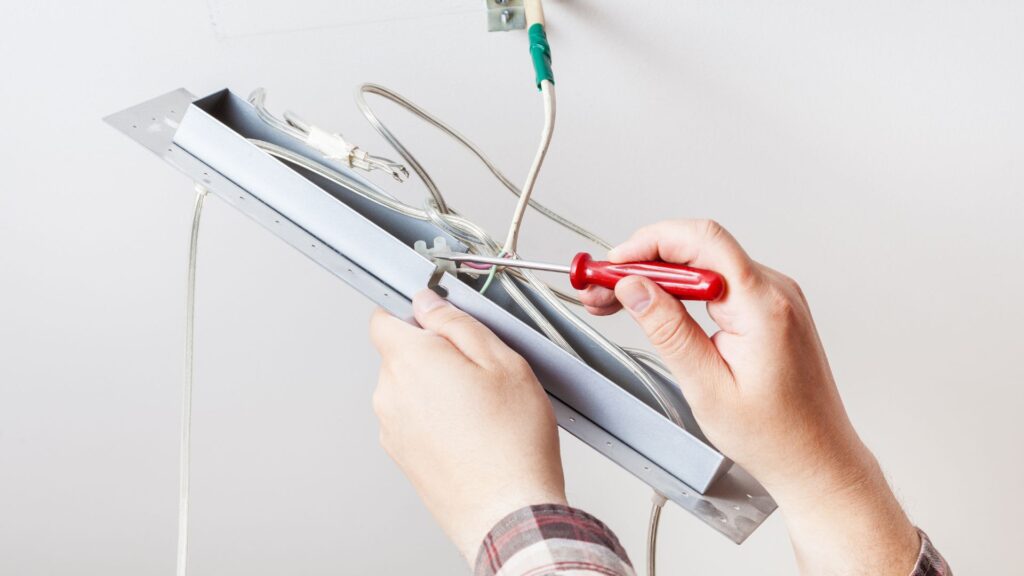
Install the light fixture.
If the new fixture requires a mounting bracket, install it now. Connect the wires from the new fixture to the wires in the electrical box. Make sure to match the colors of the wires: black to black, white to white, and green or bare copper to the grounding wire. Use wire nuts to secure the connections.
Once the wires are connected, attach the fixture to the mounting bracket. Follow the manufacturer’s instructions for attaching the fixture. Make sure the fixture is securely mounted and level.
Install lightbulbs that are compatible with the fixture and do not exceed the maximum wattage recommended by the manufacturer.
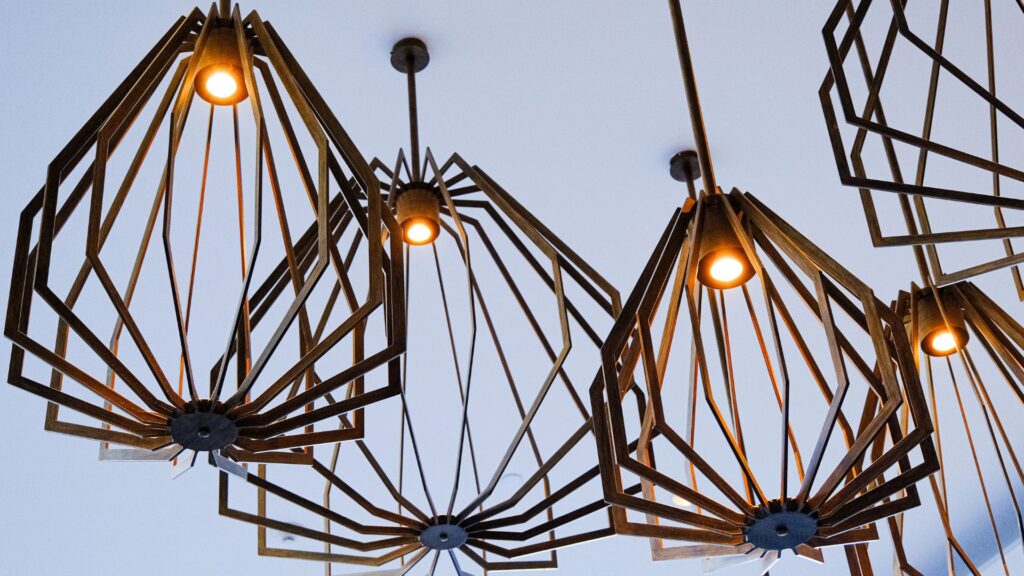
Connect the light switch
Access the junction box where all the wiring is contained. Once inside it, locate the incoming wires and identify their colors. Then connect those wires to the new switch’s terminals, ensuring they correspond correctly with each other.
Finally, attach the switch plate and replace all screws. Now that everything has been connected correctly, you can turn on the power and test out your new light fixture!
PRO TIP: Test the light. Turn the power back on at the main electrical panel. Test the light to make sure it is working properly.
Conclusion
Thank you for reading our guide on how to install a light fixture. We hope that you found it informative and helpful. Remember, safety always comes first when working with electricity, so if you’re not comfortable with the process, it’s best to call a licensed electrician. Happy installing!
Contact us today to schedule a consultation and learn more about how we can help you improve the comfort and value of your home.


